So you've decided you want to homebrew. You've got your equipment and ingredients and you are ready to go. But where do you go from there? I wanted to put together a how to with pictures to help you out. The recipe I am brewing for this example is Programmer's Elbow. The recipe can be found in Brewing Classic Styles by Jamil Zainasheff and John Palmer. This is an excellent book for extract recipes. It has an award winning recipe for every style so no matter what beer you want to make you can find it in this book.
Grab a beer and take a seat. There are a lot of pictures and wisdom after the break!

Above you can see my ingredients: the extract, steeping grains, hops and dry yeast packet. The steeping grains will need to be crushed. The store you buy your ingredients from should be able to crush them for you. If your grains are not crushed, you can put them in a large ziploc bag and roll over them a few times with a rolling pin. The hops can be stored in the fridge or freezer to be kept fresh. Liquid extract should be kept in the fridge if you are going to be waiting more than a few days to brew. Just remember to pull it out of the fridge early so it will have some time to warm up. Cold liquid extract can be tough to get out of the container.

Start heating the the water in your brew pot. Heating the water is probably the most time consuming part of the brew day so get it going as quickly as you can. Above you can see the grains in the steeping bag. These grains will help give the beer color and flavor that the malt extract won't be able to provide.

You want to steep the grains in the range of 140-160 degrees. If you look really closely at the picture above you can see that I am right at the upper end of this range. Steeping grains is a lot like making tea. You can move the bag around every so often to mix it up and make sure you are getting all you can out of the grains.

After about 20 minutes you should be ready to remove the grains. As you can see above, the grains provided a lot of color. You should also be able to smell the malt. Your kitchen will now smell like beer for the rest of the day!

Once you are starting to boil turn the heat down or all the way off. It is time to add the extract. Turning down the heat can help avoid the wort boiling over and creating a sticky mess. While you are pouring the extract in keep stirring the kettle. That will help the extract dissolve in the wort and not stick to the bottom where it could burn.
Please excuse my steamy pictures. I learned not to use the flash when taking brewing pictures.

Turn the heat back up once you get all of the extract into the kettle. When you get back to a boil start your boil timer. It is time to adding hops. The times associated with the hops are the amount of time the hop needs to be in the boil. For example, a 60 minute hop needs to go in the boil with 60 minutes left in the boil, not after boiling for 60 minutes. The longer a hop is in the boil it will give more bitterness. Hops that are not in the boil as long will contribute aroma and flavor.

After your boil is complete, you will need to chill the wort before you can add the yeast. The most cost effective way to chill your wort would be to put it in an ice bath in your sink. This does not require the purchase of any additional equipment. However, it will require being careful moving a large pot of boiling wort. Another common method is to use an immersion chiller. When using an immersion chiller be sure to put the chiller into the wort with at least 15-20 minutes left in the boil. This will ensure that the chiller is sanitized by the boiling wort.

After the wort has been chilled everything that touches the wort from now on must be sanitized. If it is not sanitized you run the risk of introducing an infection to your beer. I keep a bucket of sanitizer handy on brew days with everything that I could need so it will be ready at a moment's notice. I will keep my brew spoon, siphon, beer thief, and other odds and ends in the bucket.

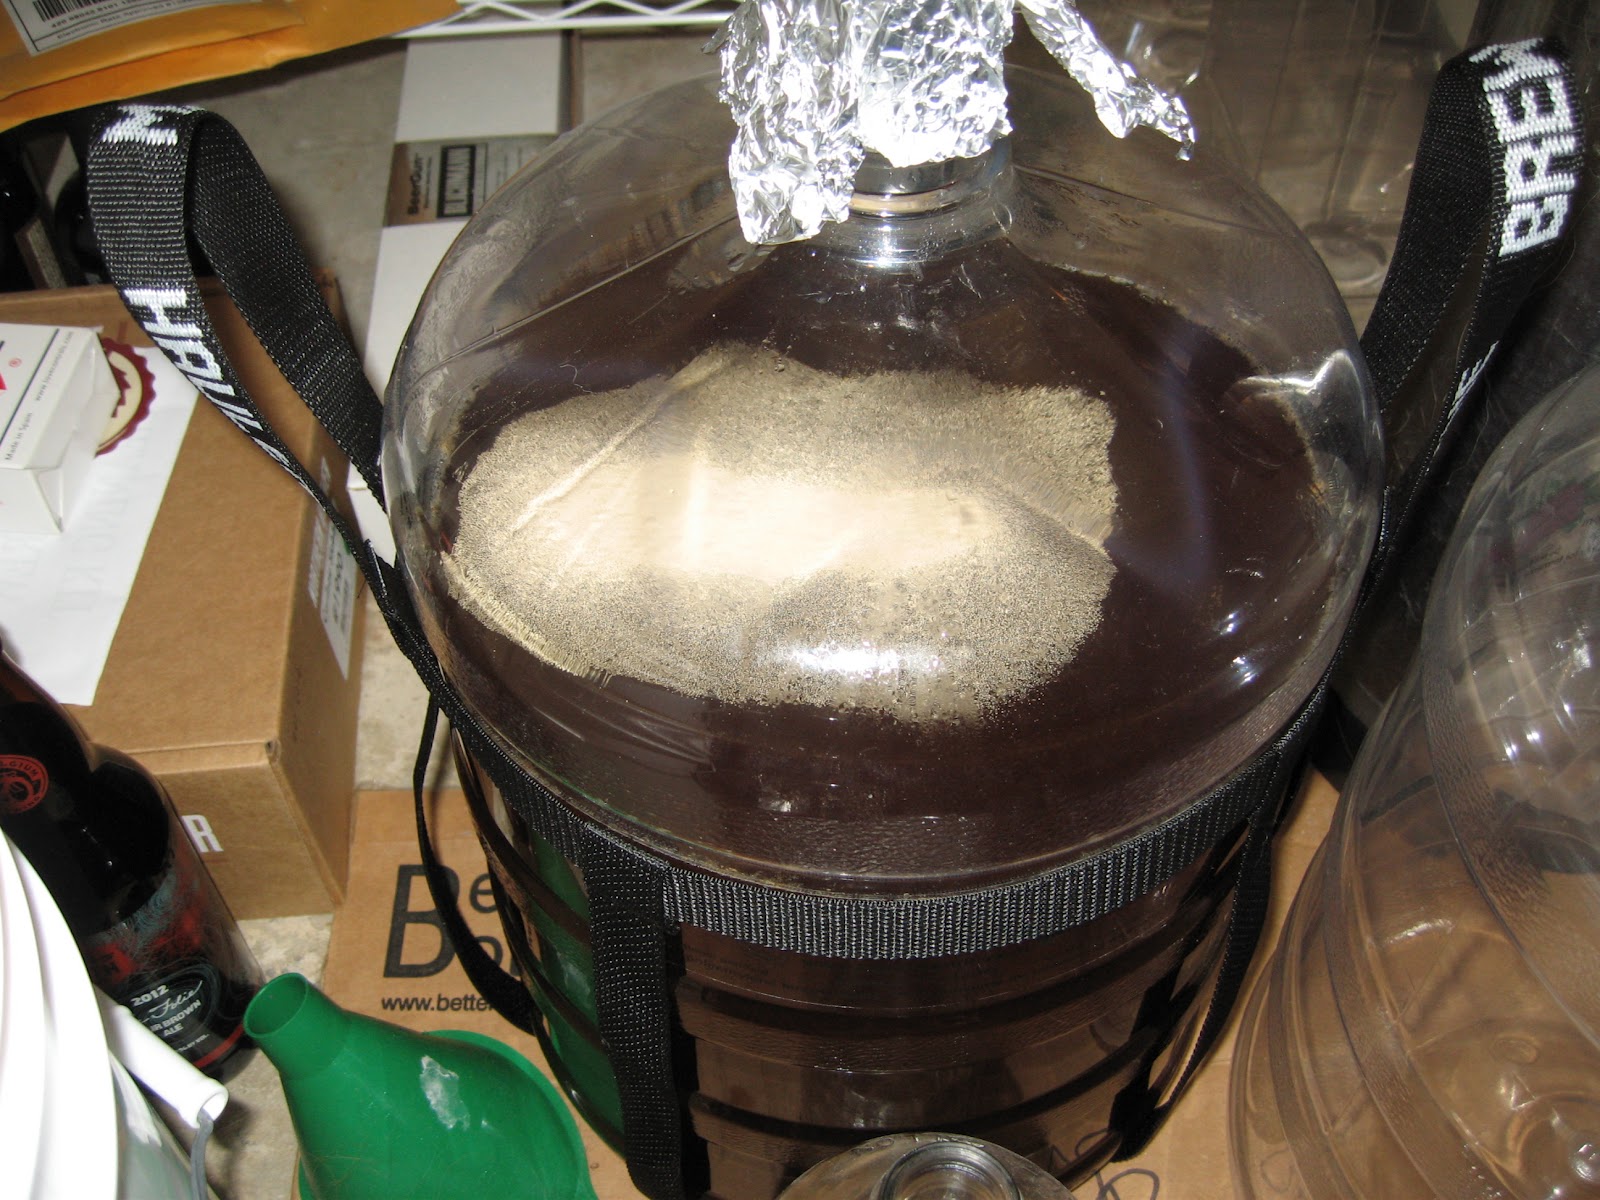
Your fermenter also needs to be sanitized. If you are using a glass or plastic carboy, a nice trick to have you fermenter ready in advance is to sanitize it and then cover the top with a piece of sanitized foil. This will keep any unwanted bugs out of your fermenter and it will be ready when you finish.
When you have chilled the wort and are ready to transfer it you can use a siphon or pour the wort into the fermenter. I recommend using a siphon. Your back will thank you and you have less chance of making a mess. If you are pouring into a carboy you will also need a funnel (sanitized of course).

Be sure to check the starting gravity of your beer. This is the first number you will need to figure out the alcohol content of your finished beer. Taste the sample you have pulled. It will be very sweet, but it will give you an idea of where your beer started.
Add the yeast based on the instructions on the yeast packet. Here I just sprinkled the dry yeast onto the wort. Some dry yeast manufacturers will recommend rehydrating the yeast in warm water.

Put your beer in a cool dark place that will stay around the recommended temperature for your yeast. For ales this will generally be around 68 degrees. Stay patient and you will be rewarded with delicious beer! After a couple weeks you can start checking the gravity and when it is the same two days in a row your beer is finished.
If you have any questions or tips leave them in the comments!
No comments:
Post a Comment